Introduction to Pumpkin Crisp
If you’re in your mid-20s to early 30s and searching for a cozy dessert to impress your friends or satisfy your own cravings, look no further than pumpkin crisp. This delightful dish combines the rich flavors of pumpkin with a buttery, crunchy topping, creating a texture that’s simply irresistible. But why is this dessert particularly perfect for young professionals like you? Let’s explore!
Why Pumpkin Crisp is Perfect for Young Professionals
In the busy whirlwind of work life, finding time to whip up a homemade dessert can feel overwhelming. That’s where pumpkin crisp shines! This dish is not only easy to make but also quick to bake, allowing you to spend more time enjoying the company of friends rather than being stuck in the kitchen. With a preparation time of about 15 minutes and a baking time that typically falls around 30 minutes, you can whip this up for any late-night snack or spontaneous gathering.
Additionally, when autumn rolls around, the pumpkin craze kicks into high gear! Whether it’s pumpkin spice lattes or scrumptious pies, incorporating pumpkin into your meals can be a great way to celebrate the season. With pumpkin crisp, you get the benefit of seasonal flavors that pair wonderfully with a hot cup of coffee or a comforting cup of tea.
Another advantage? The ingredients are straightforward and often pantry staples. You’ll need canned pumpkin puree, oats, and brown sugar among other things—affordable and easily accessible items that won’t break the bank.
Here’s a sprinkle of fun: Did you know that pumpkin is loaded with vitamins, especially Vitamin A? It’s a healthy choice that can provide a sweet burst of energy when you need it most. So why not indulge in a guilt-free treat?
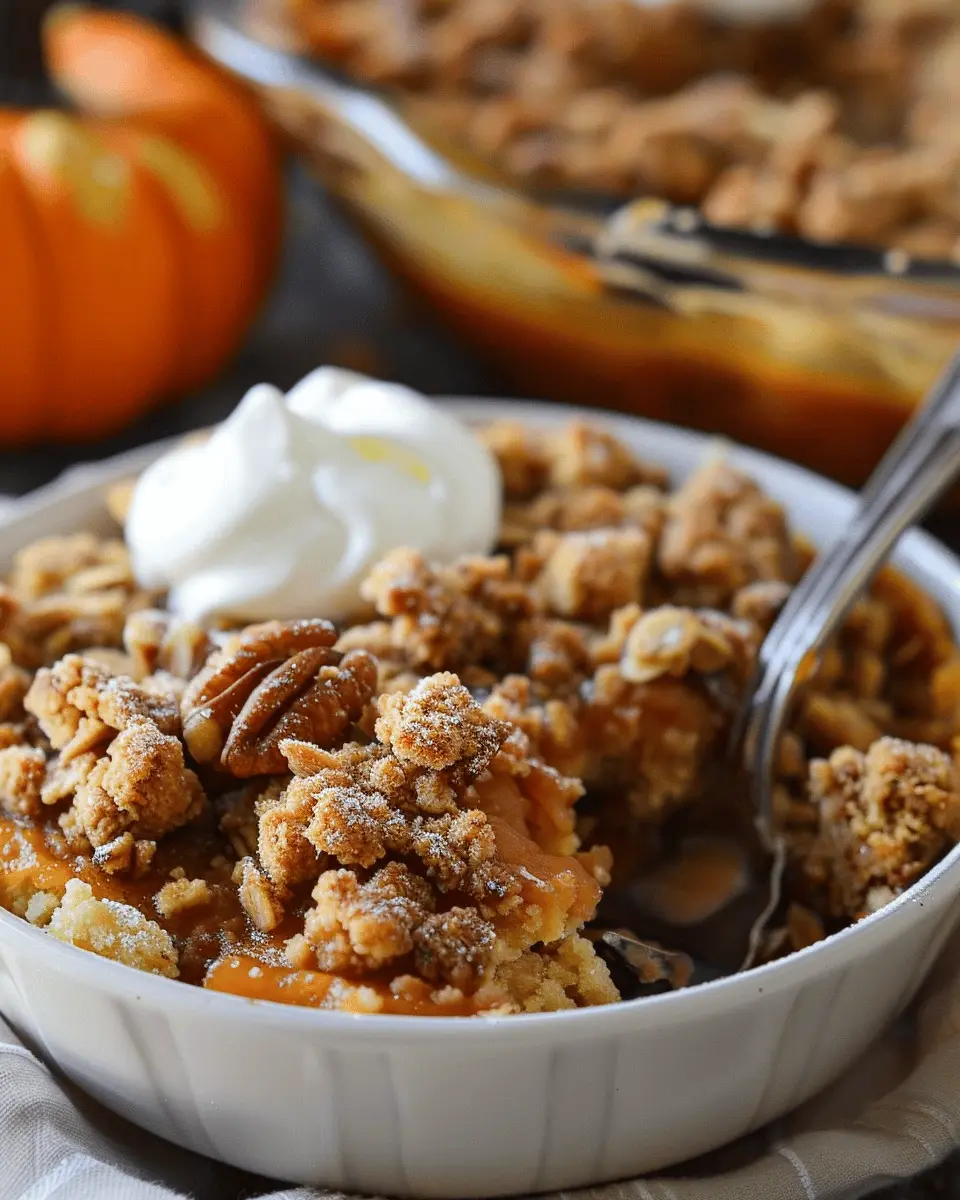
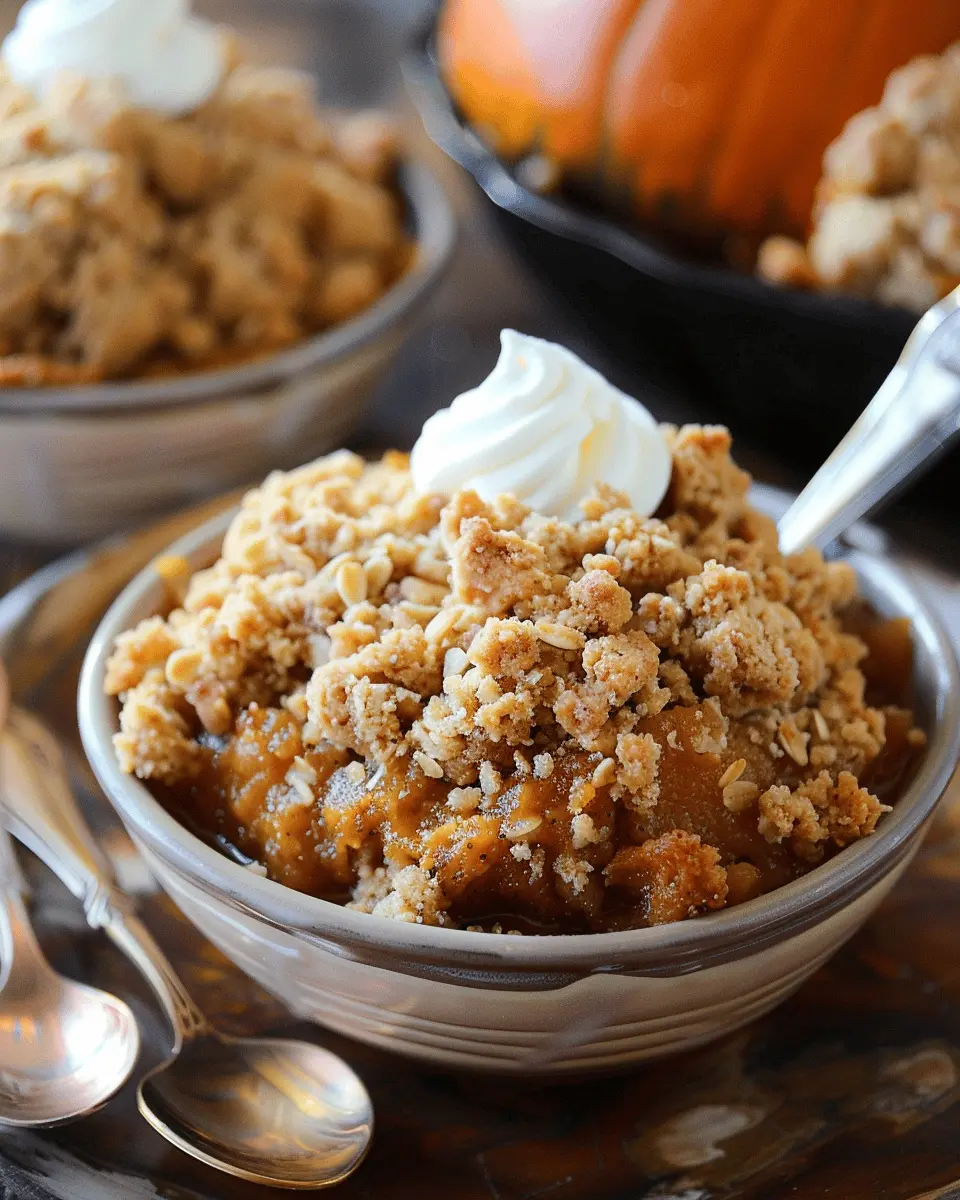
Plus, pumpkin crisp serves beautifully at gatherings. Its warm, inviting aroma and golden-brown crust create a welcoming atmosphere that makes your home feel like a culinary haven. For those interested in adding a special touch, consider serving it with a scoop of vanilla ice cream or a dollop of whipped cream.
If you’re ready to experience the magic of this delightful dessert, let’s get into the details of how to make your own pumpkin crisp!
Ingredients for Pumpkin Crisp
Creating a pumpkin crisp that dazzles your taste buds starts with the right ingredients. Below, we’ve broken down what you’ll need to whip up this delightful fall treat.
Pumpkin Pie Layer Ingredients
For the luscious pumpkin pie layer, gather the following:
- 1 can (15 oz) pumpkin puree: This classic ingredient is essential for that rich, creamy filling.
- 3/4 cup granulated sugar: To add just the right amount of sweetness.
- 1/2 cup evaporated milk: Gives your crisp that creamy consistency without the heaviness.
- 2 large eggs: These help bind everything together.
- 1 teaspoon pumpkin pie spice: A blend of cinnamon, ginger, and nutmeg to elevate the flavor.
- 1 teaspoon vanilla extract: For that warm, comforting aroma.
Cinnamon Streusel Ingredients
Now, for the oh-so-delicious cinnamon streusel topping:
- 1 cup rolled oats: They add a delightful chewiness.
- 1/2 cup packed brown sugar: Brings a caramel-like sweetness.
- 1/2 cup all-purpose flour: Forms the base of your streusel.
- 1/2 teaspoon ground cinnamon: The star of the show, adding warmth and depth.
- 1/4 cup softened butter: For that irresistible crumble.
- 1/4 cup chopped nuts (optional): Add walnuts or pecans for extra crunch.
With these ingredients in hand, you’re well on your way to creating a scrumptious pumpkin crisp that will surely impress your friends and family. Need more tips? Check out resources like The Spruce Eats for expert cooking advice. Happy baking!
Step-by-Step Preparation of Pumpkin Crisp
Making a delightful pumpkin crisp is not just satisfying—it’s also a fun way to embrace the cozy vibes of autumn! Whether you’re serving this at a family gathering or enjoying it during a movie night at home, this dish will surely become a fall favorite. Let’s dive into the step-by-step preparation process!
Preheat and Prepare the Baking Dish
Before you start mixing, ensure that your oven is preheated to 350°F (175°C). This step is crucial as it ensures even baking right from the get-go. While the oven warms up, grab a 9×13-inch baking dish and give it a light coat of cooking spray or butter. This will help keep your pumpkin crisp from sticking, making it easier to serve later on.
Make the Pumpkin Pie Filling
Now it’s time to create that luscious filling. You’ll need:
- 1 can (15 oz) pumpkin puree (not pumpkin pie filling)
- 1 cup granulated sugar
- 1 teaspoon cinnamon
- 1/2 teaspoon nutmeg
- 1/4 teaspoon ground ginger
- 1/2 teaspoon salt
- 3 large eggs
- 1 cup evaporated milk
In a medium-sized mixing bowl, whisk together the pumpkin puree, sugar, cinnamon, nutmeg, ginger, and salt until fully combined. Then, add the eggs one at a time, ensuring each is well incorporated before adding the next. Finally, stir in the evaporated milk until the mixture is creamy and smooth. It’s that simple! For more tips on pumpkin-based recipes, check out this article on Healthline.
Prepare the Cinnamon Streusel Topping
What’s a pumpkin crisp without a crunchy topping? This is where the magic really happens. You’ll need:
- 1 cup rolled oats
- 1 cup packed brown sugar
- 1/2 cup all-purpose flour
- 1/2 cup melted butter
- 1 tablespoon cinnamon
In a separate bowl, mix the rolled oats, brown sugar, and flour. Pour the melted butter over the dry mixture and stir until everything is properly blended. Add in the cinnamon and mix again. The result should be a crumbly topping that would make anyone weak at the knees.
Assemble the Layers
Now comes the fun part—assembly! Pour your creamy pumpkin mixture into the prepared baking dish. Make sure it’s evenly spread out. Then, take your cinnamon streusel topping and sprinkle it generously over the pumpkin filling. Don’t be shy! You want a nice, thick layer that will crisp up beautifully in the oven.
Bake the Pumpkin Crisp
Slide your assembled pumpkin crisp into the preheated oven and let it bake for 40 to 45 minutes, or until the filling is set and the top is golden brown. You can slightly jiggle the dish; if the center is firm, you’re good to go! Once it’s done baking, remove it from the oven and let it cool for a few minutes—if you can resist the temptation! This dish is fantastic when served warm with a scoop of vanilla ice cream, so keep it in mind.
Remember, every homemade dessert tells a story. This pumpkin crisp might just become part of your holiday tradition, bringing flavor, warmth, and a bit of nostalgia to your gatherings. Enjoy the sweetness, and happy baking!
Variations on Pumpkin Crisp
Pumpkin Crisp with Chocolate Chips
If you’re a chocolate lover, you’re going to adore this twist on traditional pumpkin crisp. Simply fold in about 1 cup of semi-sweet or dark chocolate chips into your pumpkin mixture before pouring it into your baking dish. The combination of rich chocolate and spiced pumpkin creates a delightful contrast that elevates your dessert experience. Plus, the melted chocolate adds an indulgent gooeyness that enhances the overall texture—truly a dessert dream come true!
Tips to Consider:
- Use high-quality chocolate for the best flavor.
- Experiment with flavored chocolate chips, like caramel or sea salt, for an exciting twist.
Vegan Pumpkin Crisp Alternative
For those looking for a vegan-friendly option, fear not! Making a vegan pumpkin crisp is simple and equally delicious. Start by swapping out the eggs for flaxseed meal—mix 1 tablespoon of flaxseed with 2.5 tablespoons of water to replace each egg. For the butter, use coconut oil or a vegan butter substitute.
Other Substitutions:
- Choose plant-based milk, such as almond or oat milk, for a creamier texture.
- Maple syrup or agave nectar can replace traditional sugars, giving your crisp a unique sweetness while keeping it plant-based.
With these variations, everyone can enjoy a slice of pumpkin crisp, no matter their dietary preference! Dive into these adaptations, and you may discover new favorites along the way. Interested in more fall-inspired treats? Explore this article on healthy fall desserts to keep your taste buds tingling!
Cooking Tips and Notes for Pumpkin Crisp
How to Ensure a Creamy Filling
To achieve a perfectly creamy filling for your pumpkin crisp, make sure to use pureed pumpkin rather than canned pie filling. Fresh pumpkin or high-quality canned pumpkin can elevate the texture. Adding a splash of milk or cream can also enhance creaminess, so don’t hesitate to experiment! If you’re aiming for a little zing, consider mixing in a touch of vanilla extract or cinnamon for depth in flavor. This is where the magic happens!
Storage Tips for Leftovers
Once you’ve savored every bite of your delightful pumpkin crisp, make sure to store any leftovers correctly. Keep it in an airtight container in the fridge to maintain freshness. It’s best enjoyed within three days, but if you want to prolong its life, consider freezing it! Just wrap it tightly in plastic wrap and aluminum foil. Thaw it overnight in the fridge before reheating for the best results.
For more tips, you might find the guidelines from The Kitchn or Food Network helpful!
Serving Suggestions for Pumpkin Crisp
Ideal Pairings: Ice Cream and Whipped Cream
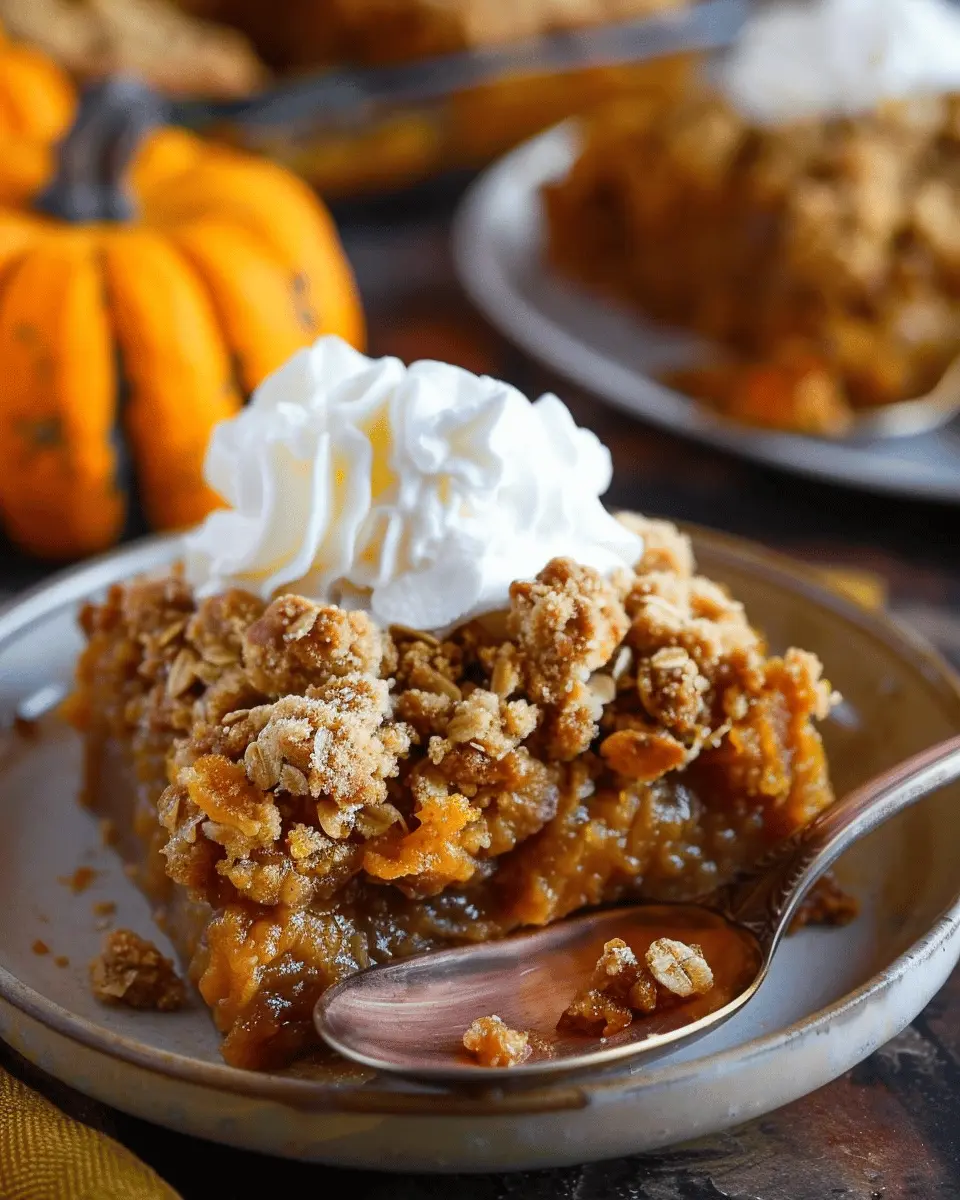
What’s better than a warm slice of pumpkin crisp? Topping it off with a scoop of creamy vanilla ice cream or a generous dollop of whipped cream! The coolness of the ice cream contrasts beautifully with the warm, spiced goodness of the crisp, creating an exquisite blend of textures and flavors. For a twist, consider using cinnamon or caramel ice cream to enhance the pumpkin flavor further. Whipped cream adds a fluffy touch, making each bite feel like a little celebration.
Creative Serving Ideas
Take your pumpkin crisp to the next level with these fun serving suggestions:
- Parfaits: Layer pumpkin crisp with yogurt and granola for a nutritious breakfast or snack.
- Mini Cups: Serve in small cups at gatherings for a fun, shareable dessert option.
- Gourmet Drizzle: Drizzle some maple syrup or chocolate sauce on top to add a gourmet flair.
With these ideas, your pumpkin crisp will not only taste amazing but also look irresistible! If you’re curious about other unique dishes, check out reputable sources like Bon Appétit or Food Network for inspiration.
Time Breakdown for Pumpkin Crisp
Preparation Time
Getting your pumpkin crisp ready is a breeze! You’ll need about 15-20 minutes for prep work. This includes measuring your ingredients, mixing the toppings, and getting everything arranged in your baking dish. Make sure to have your pumpkin puree and spices handy for a smooth start!
Baking Time
Now, the best part — baking! Your pumpkin crisp will take approximately 40-45 minutes in the oven. Keep an eye on it as it finishes up; you want that golden, bubbly topping that signals deliciousness is on the way.
Total Time
In total, you’re looking at about 1 hour and 5-10 minutes from start to finish. Perfect for a cozy weekend dessert or a quick weeknight treat! Ready to dig in? Make sure to check out nutrition tips on Healthline for how to balance your meal!
Nutritional Facts for Pumpkin Crisp
Calories per Serving
A delightful pumpkin crisp packs approximately 250 calories per serving. This makes it a fantastic treat that won’t derail your healthy eating goals. It’s an indulgent way to enjoy the flavors of fall without feeling guilty!
Key Nutritional Components
What makes a pumpkin crisp not just delicious but also nutritious? Let’s break it down:
- Pumpkin: Rich in fiber and vitamins A and C, it’s a great way to boost your immune system.
- Oats: These are heart-healthy, providing whole grains and essential nutrients that can help lower cholesterol.
- Nuts: If you choose to add them, nuts can provide healthy fats, protein, and a satisfying crunch.
- Natural Sweeteners: If you opt for honey or maple syrup instead of sugar, you’ll cut down on refined sugars while adding antioxidants.
Feeling inspired? For a deeper dive into the health benefits of pumpkin, check out this nutrition analysis from the USDA on how nutrient-dense this fall favorite truly is.
Overall, pumpkin crisp isn’t just a treat; it’s a seasonal delight that also nourishes your body! How will you enjoy yours?
FAQs about Pumpkin Crisp
Can I Use Fresh Pumpkin Instead of Canned?
Absolutely! Using fresh pumpkin for your pumpkin crisp can elevate the dish with a richer flavor. If you decide to go this route, be sure to roast or steam the pumpkin first to soften it—this will ensure it blends smoothly when mixed into the filling. Depending on the variety, fresh pumpkin can give your dessert a slightly different texture, so be prepared for that delightful surprise! If you want step-by-step guidance on preparing fresh pumpkin, this resource is quite useful.
How Long Will Pumpkin Crisp Last in the Fridge?
Once your pumpkin crisp has cooled, you can stash it in an airtight container in the fridge. It should last about 3-4 days. If you’re feeling generous, you can even share it with friends—just be sure to let them know it’s a delicious fall treat that won’t last forever!
What Are the Best Toppings for Pumpkin Crisp?
Now for the fun part—toppings! Here are some ideas to jazz up your pumpkin crisp:
- Whipped Cream: A classic choice, it adds a light and airy finish.
- Caramel Sauce: For those who love a little sweetness.
- Chopped Nuts: Walnuts or pecans add a nice crunch.
- Ice Cream: A scoop of vanilla or cinnamon ice cream can make the dish feel extra indulgent.
Feel free to mix and match these toppings! You might just stumble upon your new favorite combination. We’d love to hear your topping suggestions, so share in the comments below!
Trying out these tips will surely enhance your experience with this scrumptious dessert!
Conclusion on Pumpkin Crisp
Recap of Its Deliciousness and Ease
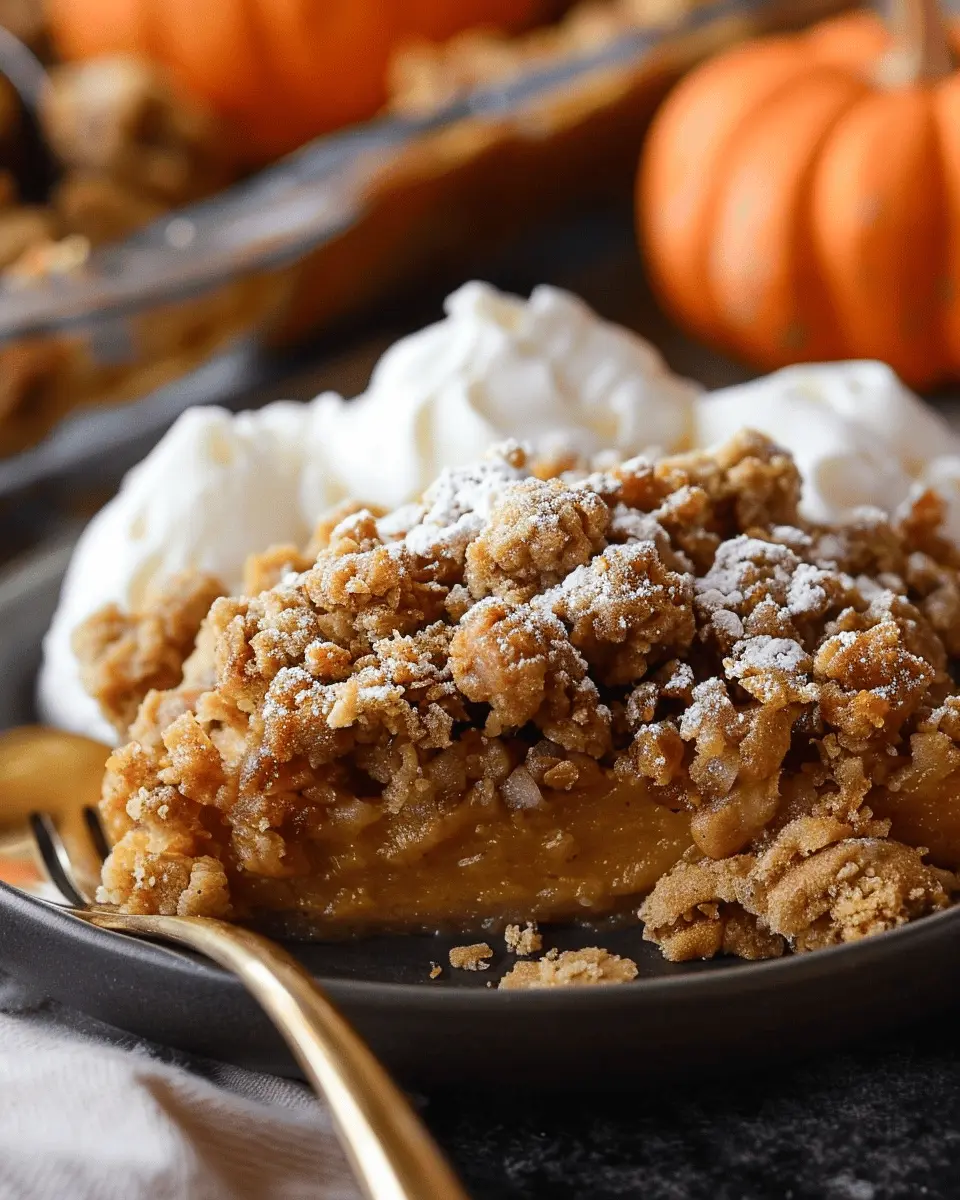
In conclusion, pumpkin crisp is not just a delectable treat but also a breeze to whip up. Imagine a warm, spiced pumpkin filling topped with a crunchy oat mixture that creates a delightful contrast in textures. Perfect for gatherings or a cozy night in, it appeals to both pumpkin lovers and skeptics alike.
Best of all, you can easily customize it. Want more crunch? Add nuts! Prefer a zing of flavor? Toss in some cranberries. This versatile dish is sure to become a staple in your fall recipe rotation. For tips on hosting the perfect autumn dinner, check out this helpful guide. Just remember: the quicker the pumpkin crisp is in the oven, the quicker it can become your new favorite dessert!
PrintPumpkin Crisp: The Best Cozy Dessert That Everyone Will Love
A delicious pumpkin crisp that is perfect for fall. This cozy dessert will satisfy your sweet tooth and is loved by everyone.
- Prep Time: 15 minutes
- Cook Time: 35 minutes
- Total Time: 50 minutes
- Yield: 8 servings 1x
- Category: Dessert
- Method: Baking
- Cuisine: American
- Diet: Vegetarian
Ingredients
- 2 cups pumpkin puree
- 1 cup brown sugar
- 1 teaspoon cinnamon
- 1/2 teaspoon nutmeg
- 1/4 teaspoon ginger
- 1 teaspoon vanilla extract
- 1/2 cup rolled oats
- 1 cup flour
- 1/2 cup butter, melted
Instructions
- Preheat the oven to 350°F (175°C).
- In a mixing bowl, combine the pumpkin puree, brown sugar, spices, and vanilla extract.
- Pour the mixture into a greased baking dish.
- In another bowl, mix rolled oats, flour, and melted butter until crumbly.
- Spread the oat mixture evenly over the pumpkin layer.
- Bake for 30-35 minutes or until golden brown.
- Let it cool before serving.
Notes
- Serve with whipped cream or vanilla ice cream for extra indulgence.
- This dessert can be made ahead of time and reheated when ready to serve.
Nutrition
- Serving Size: 1 square
- Calories: 250
- Sugar: 18g
- Sodium: 200mg
- Fat: 12g
- Saturated Fat: 7g
- Unsaturated Fat: 3g
- Trans Fat: 0g
- Carbohydrates: 35g
- Fiber: 2g
- Protein: 3g
- Cholesterol: 30mg
Keywords: Pumpkin Crisp, cozy dessert, fall dessert