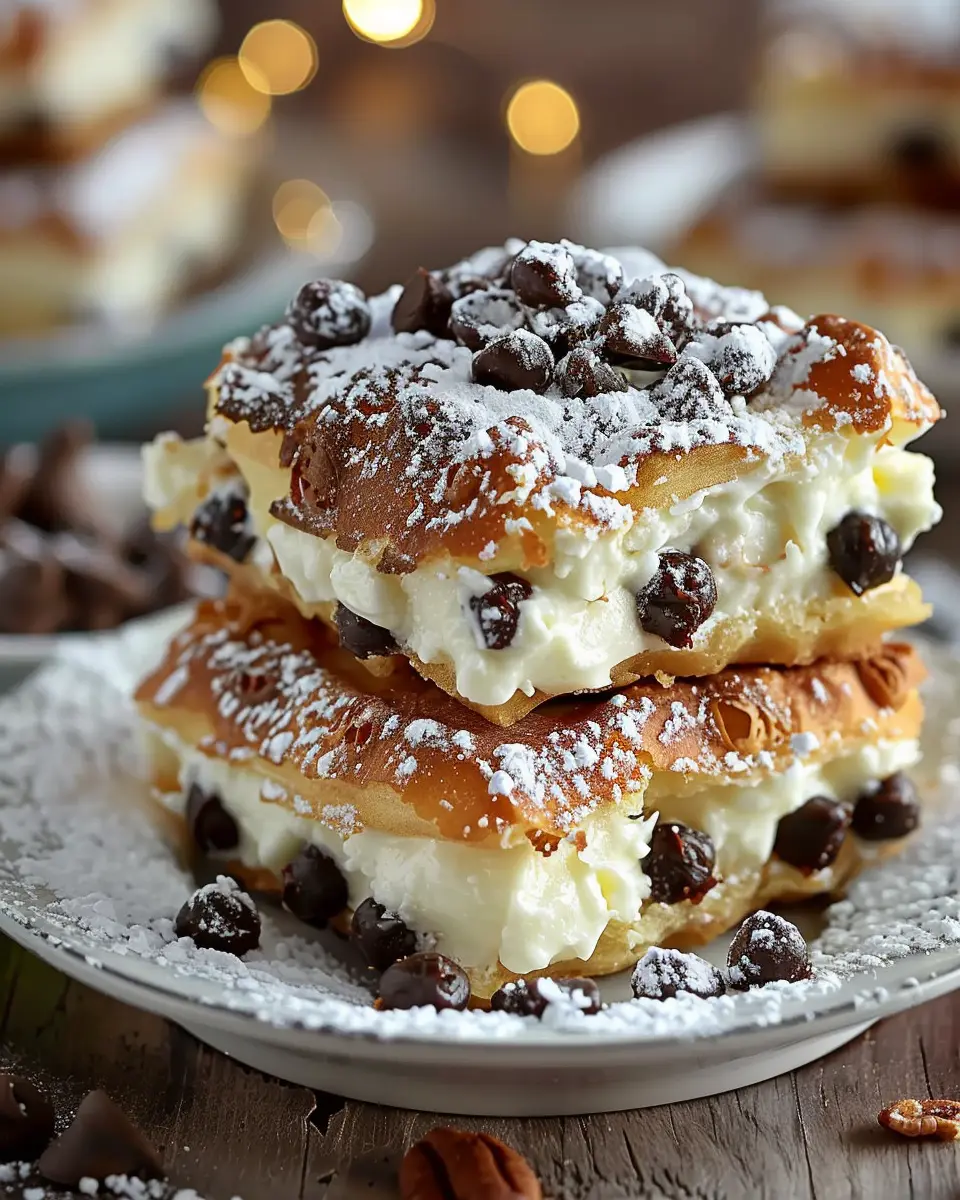
Introduction to Classic Cannoli Squares
If you’re a fan of Italian desserts, you’ve likely heard of the beloved cannoli, those crispy pastry shells filled with a luscious sweet ricotta mixture. But have you ever considered taking this classic treat and transforming it into a more approachable, shareable dessert? Enter classic cannoli squares! This delightful variation allows you to enjoy the rich flavors of traditional cannoli without the fuss of frying, making it perfect for casual get-togethers or family gatherings.
Why You Should Try Making Cannoli Squares at Home
There are plenty of reasons to whip up a batch of these irresistible squares in your kitchen:
-
Easier Preparation: One of the best things about classic cannoli squares is that you don’t have to worry about the tedious process of rolling and frying pastry. Instead, you’re working with a simple layering technique that even novice bakers can master.
-
Shareable Delight: These squares make for effortless serving. You can cut them into bite-sized pieces, allowing everyone to enjoy a taste without the mess associated with traditional cannoli. Perfect for parties or potlucks!
-
Customizable Flavors: While the basic recipe is delicious, you can easily personalize it. Try adding chocolate chips, candied fruit, or even spices like cinnamon or nutmeg to infuse your dish with unique flavors.
-
Impress Your Friends: Let’s be honest, who doesn’t love impressing friends with homemade desserts? Bringing a tray of classic cannoli squares might just earn you the title of “dessert magician” among your social circle.
Creating these delightful squares is not only straightforward, but it also allows you to channel your inner chef in a fun and relaxed way. Plus, there’s satisfaction in knowing you made something delicious from scratch. To learn more about cannoli and its fascinating history, you can explore reputable sources like The Italian Academy of Cuisine, which dives deep into traditional recipes.
So, gather your ingredients and let’s make some classic cannoli squares that are sure to become a cherished recipe in your collection!
Ingredients for Classic Cannoli Squares
When you’re ready to whip up some delightful classic cannoli squares, gathering the right ingredients is the first step towards a delicious homemade treat. Here’s what you’ll need for each component, plus some optional garnishes to enhance your creation.
Cannoli Filling Ingredients
The heart of your cannoli squares is the rich filling. Here’s what you will need:
- 16 ounces of ricotta cheese: Look for whole milk ricotta for the creamiest texture.
- 1 cup powdered sugar: This adds the perfect sweetness without grittiness.
- 1 teaspoon vanilla extract: Go for pure vanilla for the best flavor.
- 1/2 cup mini chocolate chips: These add that delightful chocolate touch!
Cannoli Crust Ingredients
For the crust, you’ll want something that perfectly balances the filling:
- 2 cups all-purpose flour: A must for a sturdy base.
- 1/4 cup sugar: For a hint of sweetness.
- 1/4 cup unsalted butter: Make sure it’s cold for a flaky texture.
- 1 egg: This helps bind the crust together.
- 1/4 teaspoon salt: A little salt enhances the flavors perfectly.
Optional Garnishes
Take your classic cannoli squares to the next level with these tasty options:
- Chopped pistachios: Adds a lovely crunch and color.
- Extra chocolate chips: Because you can never have too much chocolate.
- Powdered sugar: For a sweet finishing touch on top of your squares.
Now that you have your ingredients ready, you’re one step closer to enjoying these delightful treats. For more tips on working with pastry, check out King Arthur Baking, a great resource for home bakers! Happy baking!
Preparing Classic Cannoli Squares
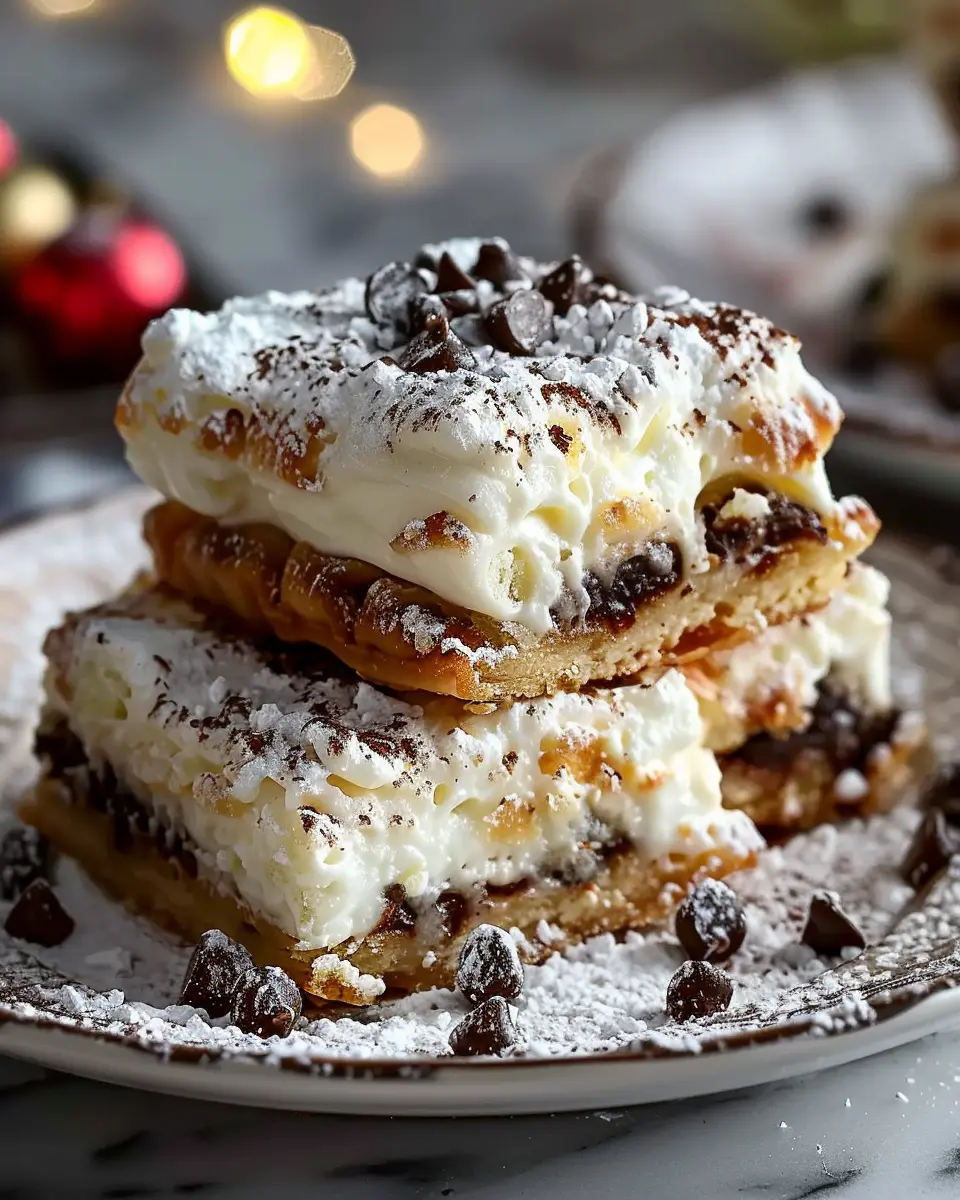
Are you ready to whip up a dessert that brings a little taste of Italy right to your kitchen? Classic cannoli squares are a delightful, simplified take on the traditional cannoli that everyone loves. With rich ricotta filling nestled between flaky pie crusts, these squares promise to satisfy your sweet tooth. Let’s dive into the step-by-step process of creating these delicious treats.
Prepare the Ricotta Filling
The heart of your classic cannoli squares is a creamy ricotta filling. You’ll want to use high-quality ricotta cheese for that authentic flavor. Here’s what you’ll need:
- 2 cups of ricotta cheese
- 1 cup of powdered sugar (adjust to taste)
- 1 teaspoon of vanilla extract
- ½ teaspoon of cinnamon (optional)
- Mini chocolate chips for added sweetness
- In a mixing bowl, combine the ricotta cheese, powdered sugar, vanilla extract, and cinnamon.
- Stir until everything is well incorporated and creamy. For an exciting twist, fold in some mini chocolate chips. Not only do they enhance the flavor, but they also add a delightful texture.
Once you’ve got that filling ready, it’s time to get started with the crust!
Preheat the Oven
Next, you should prepare your oven. Setting the correct temperature is crucial for achieving a perfectly baked dessert. Preheat your oven to 375°F (190°C). Proper preheating helps the pie crust rise beautifully and develop that golden-brown finish we all crave.
Roll Out the Pie Crust
You can either make your pie crust from scratch or use store-bought pre-rolled pie crust for convenience. If you’re feeling adventurous, homemade can definitely elevate your classic cannoli squares. Here’s how to roll out the crust:
- On a floured surface, gently roll out the pie dough using a rolling pin. Aim for a thickness of about ¼ inch.
- Cut the rolled dough into rectangles that will fit your baking dish. You’ll need two layers for the base and top of your squares.
Spread the Filling
Now comes the fun part!
- Once you have your first layer of pie crust in your baking dish, spread a generous layer of the ricotta filling evenly on top. Use a spatula to make it smooth.
- Feel free to add more mini chocolate chips or even some candied orange peel for an unexpected burst of flavor.
Top with the Second Crust
Take your second piece of rolled pie crust and place it gently over the filling.
- Pinch the edges together to seal the filling inside. This prevents any delicious escape during baking—though we secretly hope some might bubble over for that rustic effect!
Bake Until Golden Brown
Now, it’s time to let the oven work its magic.
- Place your baking dish in the preheated oven and bake for 25 to 30 minutes or until the top is a beautiful golden brown. The smell of baking classic cannoli squares will be irresistible, and you’ll have your kitchen filled with delightful aromas.
Cool and Cut into Squares
Once your squares are done baking, it’s crucial to show them a little patience. Allow them to cool for at least 30 minutes—you don’t want to burn your mouth on the filling!
- Once cooled, transfer to a cutting board and slice them into squares using a sharp knife. Aim for sizes that are easy to pick up for a delicious treat!
These classic cannoli squares are perfect for gatherings, or simply to enjoy with a cup of coffee on a lazy weekend. If you’re ever left with leftovers (though it’s doubtful), they store beautifully in an airtight container in the fridge.
For more sweet inspiration, check out livewellbakeoften.com or allrecipes.com for various delightful dessert ideas!
As you indulge in these creamy treasures, remember: good food brings people together. Enjoy every bite!
Variations on Classic Cannoli Squares
When you think of classic cannoli squares, it’s hard not to smile. But what if I told you there are exciting variations that can elevate this beloved dessert to an entirely new level? Let’s explore two delightful twists that cater to different taste preferences while keeping that nostalgic vibe.
Chocolate Chip Variations
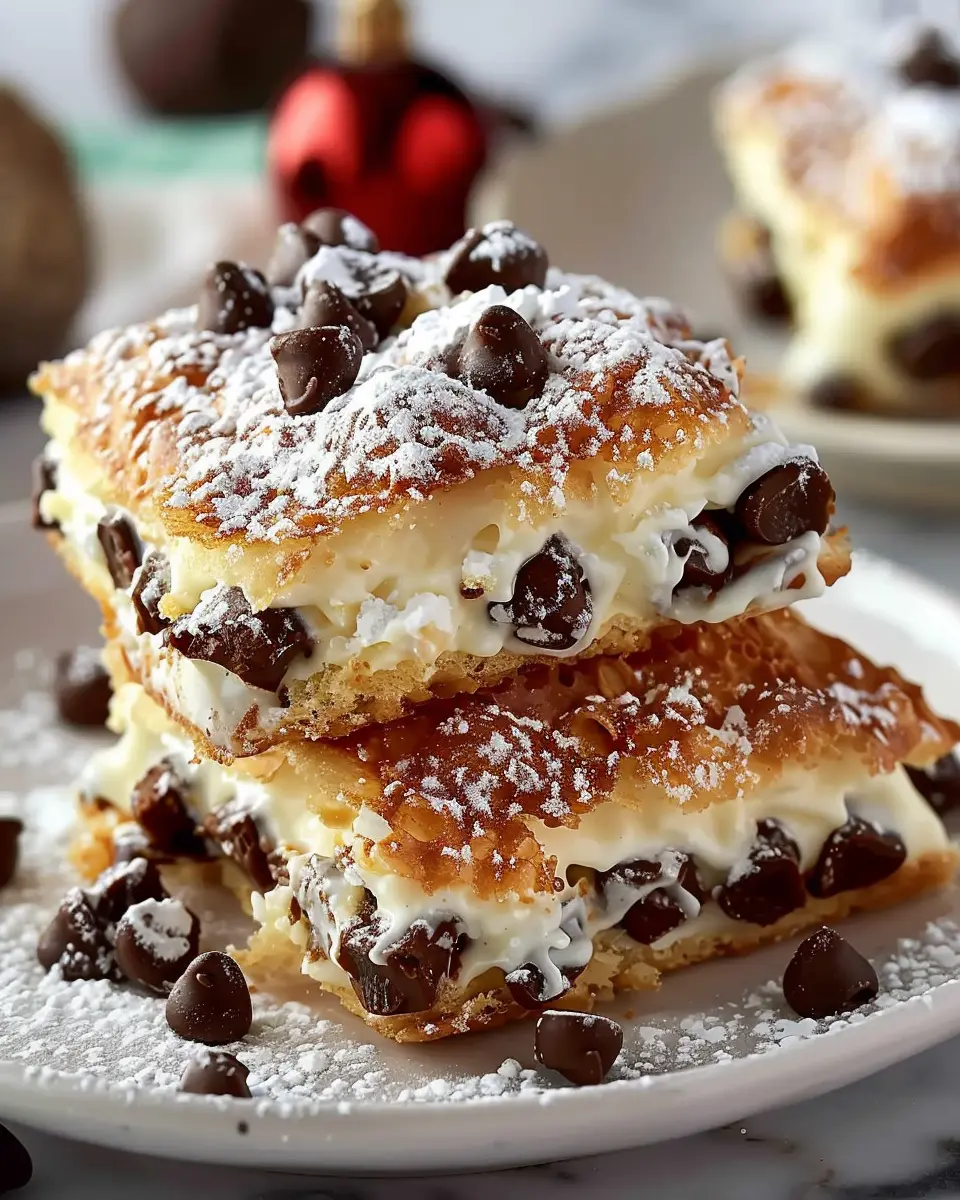
If you’re a chocolate lover, adding chocolate chips to your classic cannoli squares is a game changer. Semi-sweet or dark chocolate chips will complement the sweet ricotta filling perfectly. Simply fold in a cup of chocolate chips into your ricotta mixture before layering it.
You can also drizzle melted chocolate on top for a visually appealing finish and an extra touch of indulgence. According to a study from the National Confectioners Association, 75% of American adults enjoy chocolate, making these chocolate-infused squares a crowd-pleaser at any gathering.
Nutty Cannoli Squares with Pistachios
For those who appreciate a little crunch, consider using pistachios. Not only do they add a beautiful splash of color, but they give your classic cannoli squares a delightful nutty flavor.
To get started, finely chop about half a cup of unsalted pistachios and fold them into your filling along with some finely grated orange zest. The combination of the creamy filling with the crisp nuts creates a textural contrast that’s simply irresistible! And for a decorative finish, sprinkle some additional chopped pistachios on top along with a dusting of powdered sugar.
These variations not only bring creativity into the kitchen but also open the door to personalizing your dessert! Want to know more about the rich history behind cannoli? Check out this article from Serious Eats. Happy baking!
Cooking Tips and Notes for Classic Cannoli Squares
Storing the Cannoli Squares
After creating your delicious classic cannoli squares, proper storage can help maintain their delightful flavors and textures. To keep them fresh, place the squares in an airtight container. You’ll want to keep them refrigerated, where they can last for about three to four days. Just be mindful that the longer they sit, the softer the crust may become.
Freezing Tips for Longer Shelf Life
Want to enjoy your classic cannoli squares even longer? Freezing is your best friend here! If you’re planning to save some for a later date, cut them into squares before freezing. Wrap each piece tightly in plastic wrap and then place them in a freezer-safe container or bag. When done this way, they can last up to three months!
When you’re ready to indulge, simply take them out and let them thaw in the fridge for a few hours. Enjoy the convenience of having a delicious treat on hand without sacrificing taste! For additional storage tips, check out resources like the USDA for food safety guidelines.
Serving suggestions for Classic Cannoli Squares
When it comes to enjoying classic cannoli squares, the options for enhancing their deliciousness are endless. Here are a couple of delightful serving suggestions that you can easily incorporate into your gatherings.
Pairing with Fresh Fruits
Pairing classic cannoli squares with fresh fruits not only adds vibrancy but also complements their rich flavors. Think about serving them alongside:
- Berries: Strawberries, blueberries, and raspberries offer a refreshing burst of acidity that balances the creaminess of the filling.
- Citrus Slices: Oranges or grapefruits can provide a zesty contrast that lifts the dessert experience.
- Sliced Kiwi: The tropical notes of kiwi can add an exotic flair to your dessert table.
For some inspiration, check out seasonal fruit pairings to match with desserts at Epicurious.
Drizzling with Sauces
Drizzling sauces over your classic cannoli squares can elevate the presentation and the taste. Here are some ideas:
- Chocolate Sauce: A warm drizzle of rich chocolate enhances the indulgence and provides a beautiful contrast.
- Caramel Sauce: The luscious sweetness of caramel pairs exceptionally well with the ricotta filling, creating a decadent bite.
- Berry Coulis: This fruit puree can provide both color and a tangy flavor that beautifully offsets the sweetness.
These simple touches can make your classic cannoli squares not just a dessert, but an experience that delights all the senses. How do you like to serve your desserts? Let me know in the comments!
Time breakdown for Classic Cannoli Squares
Preparation time
Getting those classic cannoli squares ready takes about 20 minutes of your time. This phase is mostly about gathering your ingredients and mixing together that delightful ricotta and chocolate chip filling that makes these squares so memorable. Pro tip: Make sure your ricotta is well-drained to prevent a soggy base!
Baking time
Once prepared, these squares bake for about 30 minutes. You want that perfect golden-brown top that’s a sign of deliciousness. If you haven’t already, now’s a great moment to unwind with a cup of coffee or tea while that aroma fills your kitchen!
Total time
In total, you’re looking at approximately 50 minutes from start to finish. That’s less time than a trip to your local bakery, and frankly, the taste of homemade classic cannoli squares is unbeatable! Why not treat yourself and both friends and family? They’re sure to love it!
For more insights on renown dessert variations, check out expert sources like Serious Eats and Food52.
Nutritional facts for Classic Cannoli Squares
When you indulge in classic cannoli squares, it’s nice to know exactly what you’re enjoying. Here’s a breakdown of the nutritional facts per square:
Calories per square
Each square contains approximately 150 calories, making it a delightful treat while still being mindful of your caloric intake. Enjoy them as a sweet finish to your meal or as a mid-day pick-me-up.
Protein and fat content
These squares pack about 3 grams of protein and 6 grams of fat. While they aren’t a primary source of protein, the balance of flavor and texture keeps them satisfying without overwhelming your diet.
Sugar levels
A typical serving has around 10 grams of sugar, which adds that irresistible sweetness we crave. If you’re looking to be health-conscious, you can experiment with alternatives like agave syrup or stevia for a lighter version.
Keep in mind, enjoying classic cannoli squares in moderation is key! For more health insights on your favorite treats, check out sources like NutritionData for detailed breakdowns.
FAQs about Classic Cannoli Squares
Can I use a different cheese?
Absolutely! While traditional classic cannoli squares typically call for ricotta cheese, you can certainly experiment with alternatives. Mascarpone cheese offers a rich and indulgent flavor, while cream cheese can provide a familiar taste with a slightly tangy twist. Just remember to blend it well with powdered sugar and any desired flavorings to keep the filling smooth.
How can I make the filling lighter?
If you’re looking to lighten up your classic cannoli squares, consider folding in some whipped cream or Greek yogurt into your cheese mixture. This not only reduces the overall fat content but also adds a delightful airy texture. You can also opt for low-fat or part-skim ricotta to maintain the classic flavors while cutting back on calories.
What’s the best way to serve Cannoli Squares?
For the ultimate serving experience, consider:
- Chill: Make sure your classic cannoli squares are well chilled before serving. This enhances the texture and flavors.
- Garnish: A sprinkle of powdered sugar on top adds a lovely finishing touch. For a pop of color, garnish with crushed pistachios or chocolate shavings.
- Pairing: Serve alongside a fresh fruit compote or a tart berry sauce to balance the sweetness.
Feeling inspired? You can read more about dessert presentation techniques to elevate your serving style here.
Whether you’re hosting a casual gathering or simply indulging at home, these tips will help you create a delightful experience with your classic cannoli squares!
Conclusion on Classic Cannoli Squares
Making classic cannoli squares in your own kitchen is not just a fun project, it’s an opportunity to impress your friends and family with your culinary skills. This dessert encapsulates the luxurious taste of traditional cannoli in a more accessible format, making it perfect for gatherings or a sweet night in.
Try whipping up a batch for your next get-together, and watch as your guests revel in each decadent bite. If you’re new to baking, don’t worry! Each step is straightforward and enjoyable, allowing your creativity to shine.
For more on mastering desserts, check out this resource that offers a wealth of tips from baking experts. Happy baking!
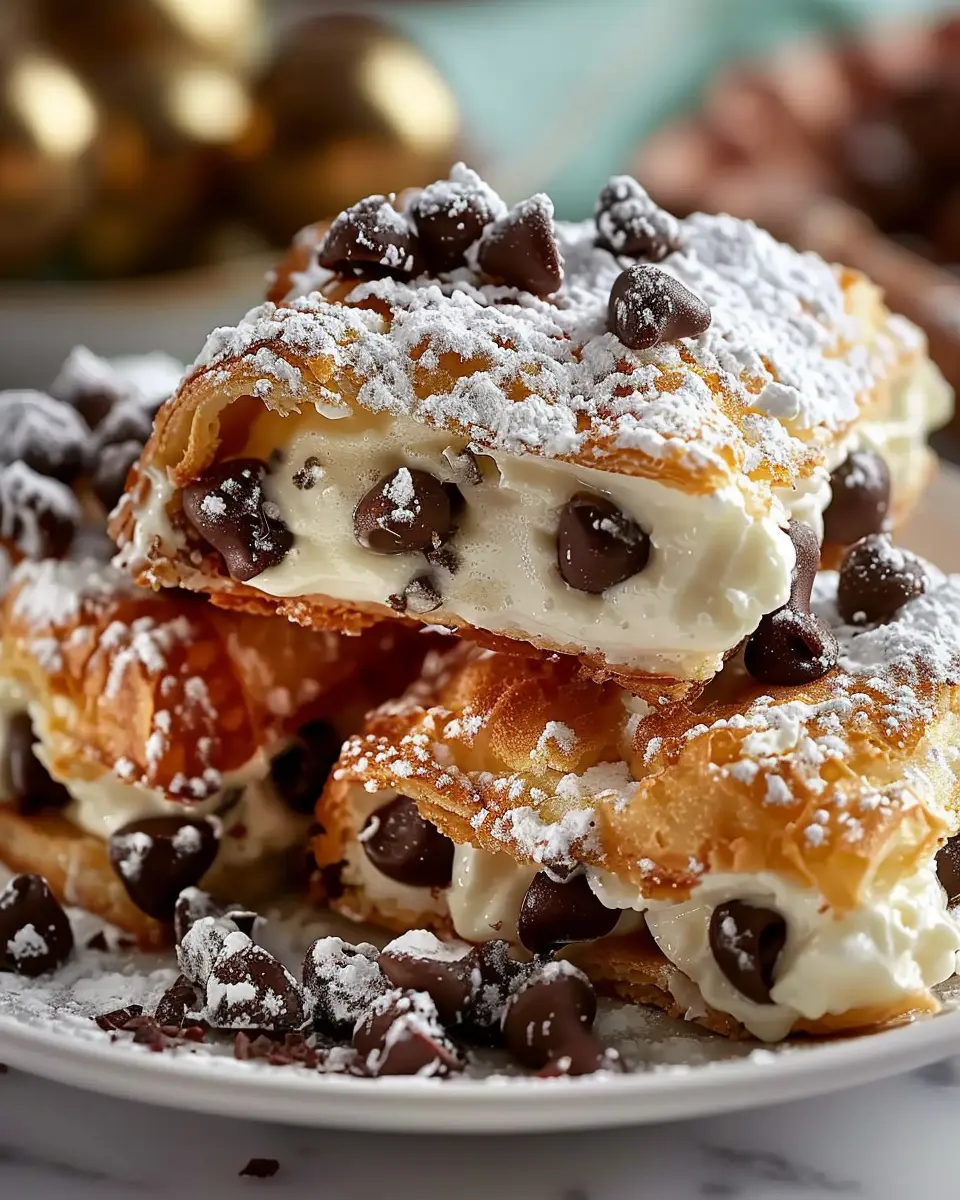
PrintClassic Cannoli Squares: Indulgent Treat for Homemade Delight

A delicious twist on the classic Italian dessert, these Cannoli Squares offer a creamy filling and crispy crust, perfect for any occasion.
- Prep Time: 20 minutes
- Cook Time: 30 minutes
- Total Time: 50 minutes
- Yield: 12 servings 1x
- Category: Desserts
- Method: Baking
- Cuisine: Italian
- Diet: Vegetarian
Ingredients
- 1 cup ricotta cheese
- 1 cup mascarpone cheese
- 3/4 cup powdered sugar
- 1 teaspoon vanilla extract
- 1/2 teaspoon cinnamon
- 1 package phyllo dough
- 1/2 cup unsalted butter, melted
- 3/4 cup mini chocolate chips
Instructions
- Preheat the oven to 350°F (175°C).
- In a bowl, mix ricotta, mascarpone, powdered sugar, vanilla, and cinnamon until smooth.
- Layer phyllo dough in a baking dish, brushing each layer with melted butter.
- Spread the cheese mixture evenly over the phyllo.
- Sprinkle mini chocolate chips on top.
- More phyllo layers can be added on top, again brushing with butter.
- Bake for 25-30 minutes or until golden brown.
- Allow to cool before slicing into squares.
Notes
- For a richer flavor, try adding a splash of orange zest.
- Serve with a dusting of powdered sugar for garnish.
Nutrition
- Serving Size: 1 square
- Calories: 250
- Sugar: 15g
- Sodium: 150mg
- Fat: 15g
- Saturated Fat: 10g
- Unsaturated Fat: 4g
- Trans Fat: 0g
- Carbohydrates: 30g
- Fiber: 1g
- Protein: 5g
- Cholesterol: 30mg
Keywords: Classic Cannoli Squares, dessert, homemade, Italian