Introduction to DIY Caramel Apple Bar
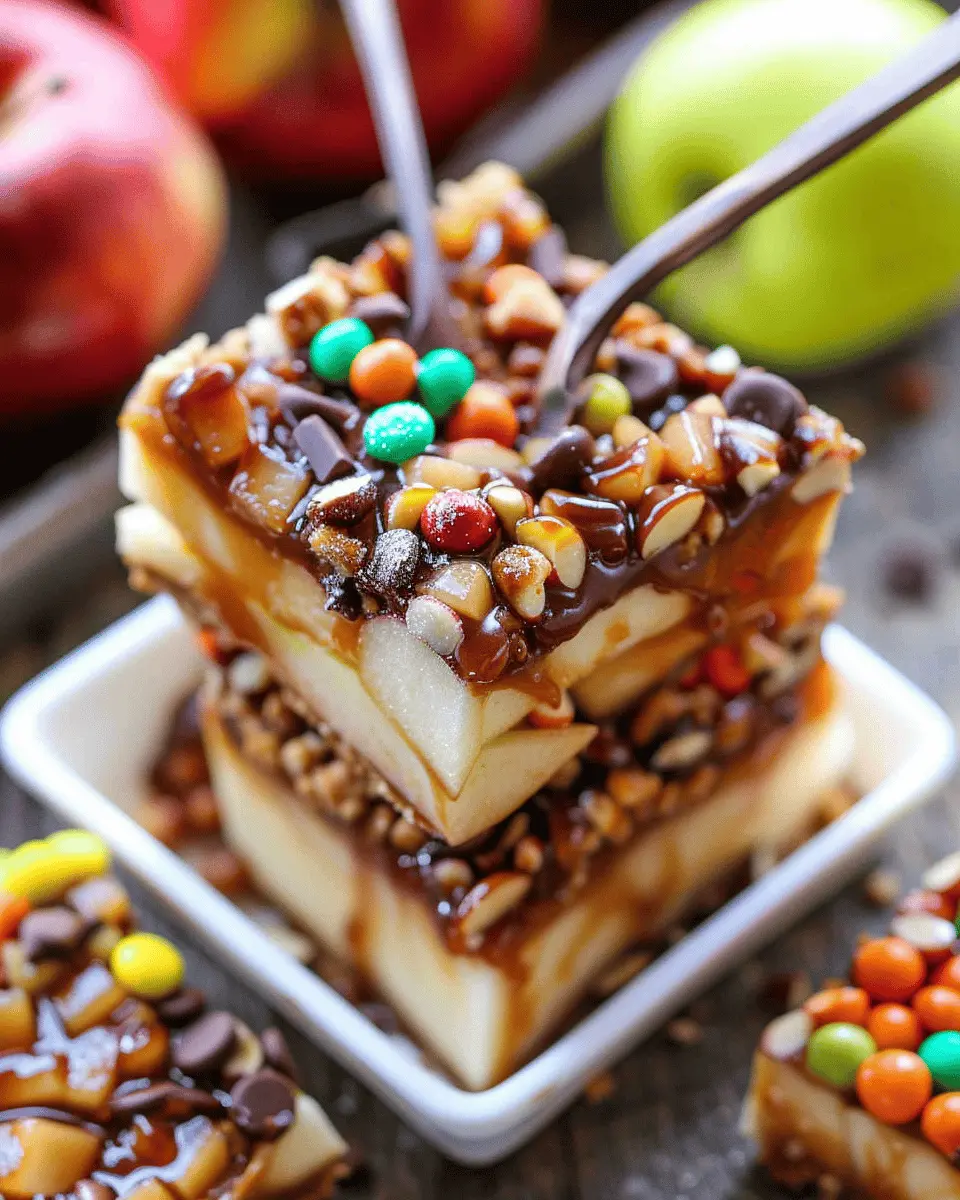
When it comes to dessert options that instantly brighten up a gathering, the DIY Caramel Apple Bar stands out as a fun and interactive choice. Not only does it cater to a wide range of taste preferences, but it also invites everyone to get creative. Whether it’s a birthday party, a family reunion, or even a cozy fall get-together, this dessert bar can be the centerpiece that sparks joy and conversation.
Why a DIY Caramel Apple Bar is the perfect dessert for gatherings
Imagine your guests mingling and chatting as they gather around a beautifully arranged table filled with fresh apples and an array of toppings. The DIY Caramel Apple Bar encourages interaction—your friends can customize their caramel apples just the way they like them. Because let’s face it, we all have those unique flavor combinations that excite our taste buds!
-
Versatile toppings: From crushed nuts and sprinkles to chocolate chips and chopped candies, the options for customizing your apple bar are endless! You can easily appeal to different dietary restrictions by adding vegan caramel, gluten-free toppings, and more. For inspiration, check out this resource on alternative toppings by Food Network.
-
Seasonal delight: This dessert idea is particularly relevant during fall, a season synonymous with caramel and apples. The combination of sweet, sticky caramel and tart apples perfectly captures the essence of autumn, making it a seasonal favorite.
But what’s even better? You can set it up anywhere! Up for a picnic? It fits right in. Host a cozy night in? Perfect. Just imagine the smiles on your guests’ faces as they bite into their own creation!
Plus, engaging in this DIY activity allows everyone to unleash their creativity. Have you ever wondered who will come up with the craziest topping combination? Watching your friends combine unexpected flavors can be a delightful experience. Plus, kids love it too—so it’s a win-win for family gatherings.
A DIY Caramel Apple Bar is not only a treat for the taste buds but also a feast for the eyes, turning a simple dessert into a memorable experience that everyone will cherish. Ready to create sweet memories? Let’s dive into the recipe!
Ingredients for DIY Caramel Apple Bar
Essential ingredients for a delicious caramel apple experience
Creating a DIY Caramel Apple Bar at home is easier than you might think! To kick off your tasty adventure, gather these essential ingredients:
- Fresh Apples: Choose a mix of tart and sweet varieties, like Granny Smith and Fuji, for a delightful flavor contrast.
- Caramel: You can either make your own or opt for store-bought caramel sauce for a quick solution. Homemade caramel can bring that extra magic, but don’t stress—store brands often taste amazing too!
- Sticks: Wooden popsicle sticks work wonderfully for easy handling and dipping.
Fun topping options to personalize your apples
The real fun begins when it comes to toppings! Get creative and consider adding:
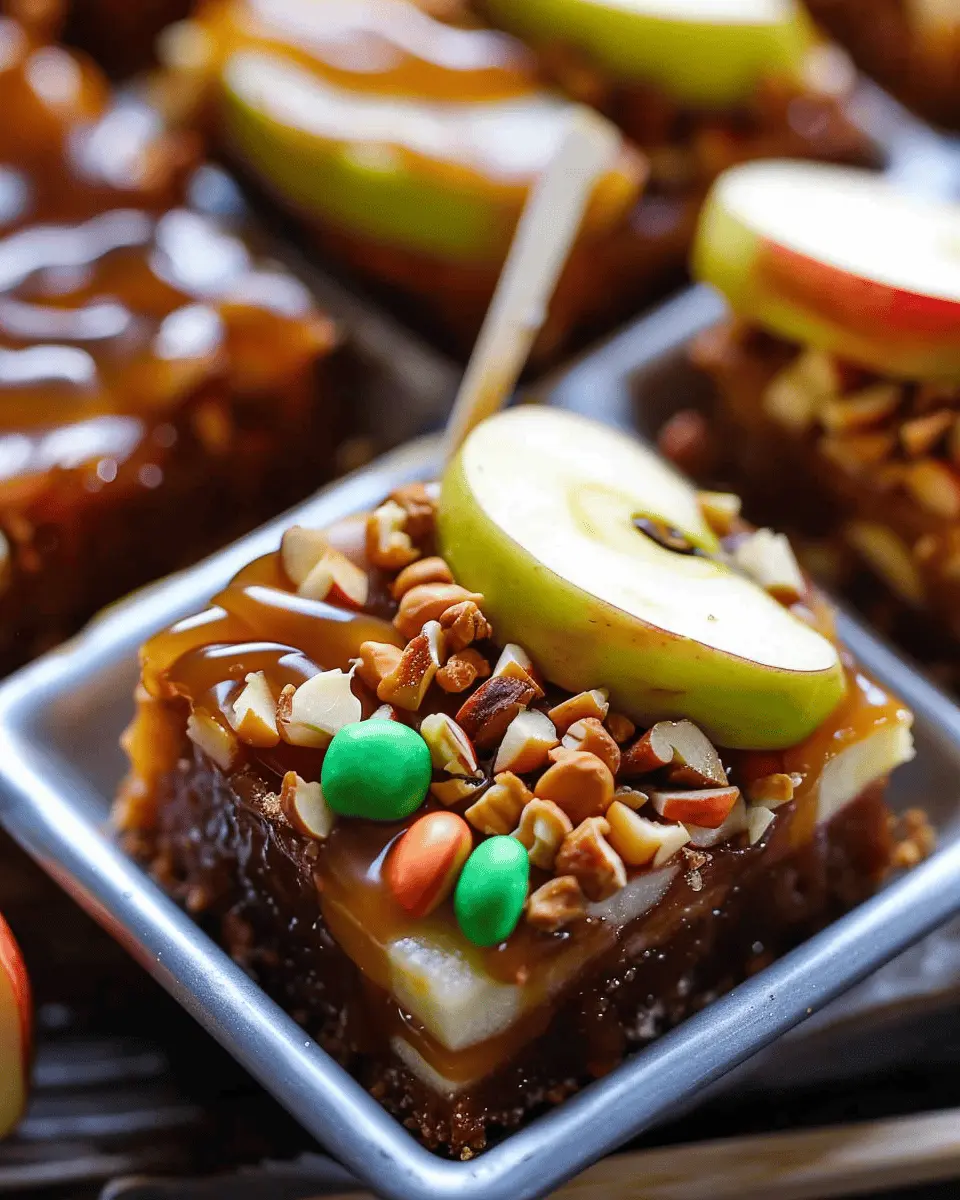
- Nuts: Chopped peanuts, almonds, or pecans add crunch and flavor.
- Chocolate: Drizzle melted chocolate or sprinkle chocolate chips for a decadent twist.
- Sprinkles: Bring color to your bar with festive sprinkles.
- Syrups: Try different syrups like chocolate, caramel, or raspberry to enhance flavors.
With these ingredients, your DIY Caramel Apple Bar is bound to impress friends and family. Why not explore more about caramel variations at resources like Serious Eats? Happy dipping!
Step-by-step Preparation for DIY Caramel Apple Bar
Creating a DIY Caramel Apple Bar is a delightful way to impress guests or simply indulge in a nostalgic treat. With just a few steps, you’ll be set up for a fun and interactive dessert experience that everyone will love. Let’s dive into the details of each step to make your caramel apple dreams come true.
Gather your ingredients and equipment
Before you begin, let’s make sure you have everything you need, so you won’t have to scramble mid-recipe. Here’s a list of ingredients and equipment to get you started:
Ingredients:
- Fresh crisp apples (Granny Smith or Honeycrisp work well)
- Caramel sauce (store-bought or homemade)
- Assorted toppings (chopped nuts, sprinkles, mini chocolate chips, crushed cookies, toffee bits)
Equipment:
- A sharp knife for slicing apples
- Skewers or popsicle sticks
- A microwave-safe bowl (if you’re warming your caramel)
- Parchment paper (to set the finished apples on)
- A large plate or platter for assembling your DIY Caramel Apple Bar
Having everything at your fingertips will create an enjoyable atmosphere where everyone can freely create their own caramel apple masterpieces.
Prepare the apples for easy dipping
The type of apples you choose can elevate your DIY Caramel Apple Bar. Wash and dry your apples thoroughly to remove any waxy coating. This ensures the caramel adheres better.
Next, slice the apples into wedges or cut them into rounds if you prefer bite-sized pieces. With apples, it’s all about personal preference, and these shapes make for easier dipping. If you’re feeling adventurous, leave the skin on for a bit of texture and flavor contrast!
Warm the caramel to that perfect pourable consistency
If you’re using store-bought caramel sauce, just pop it in the microwave for about 30 seconds to a minute, stirring occasionally until it’s smooth and easily pourable. If you’re feeling ambitious and want to make your own caramel, here’s a quick recipe:
- Basic Homemade Caramel Sauce:
- 1 cup sugar
- 6 tablespoons unsalted butter
- 1/2 cup heavy cream
- A pinch of salt
This caramel will give you that rich, creamy texture that’s perfect for dipping. Just remember to keep an eye on the pot; burnt sugar is not the goal here!
Skewer the apple slices for a fun and easy dipping experience
Now that your apples are prepped and your caramel is warm, it’s time to skewer! Insert the sticks into each apple slice, ensuring they’re sturdy enough to hold them. This step not only makes for a more enjoyable experience but also eliminates some of the mess associated with traditional caramel apples.
As you skewer your apple slices, think about your guests—will they enjoy the classic apple wedge, or will they prefer larger pieces? Adjust your size accordingly and mix things up!
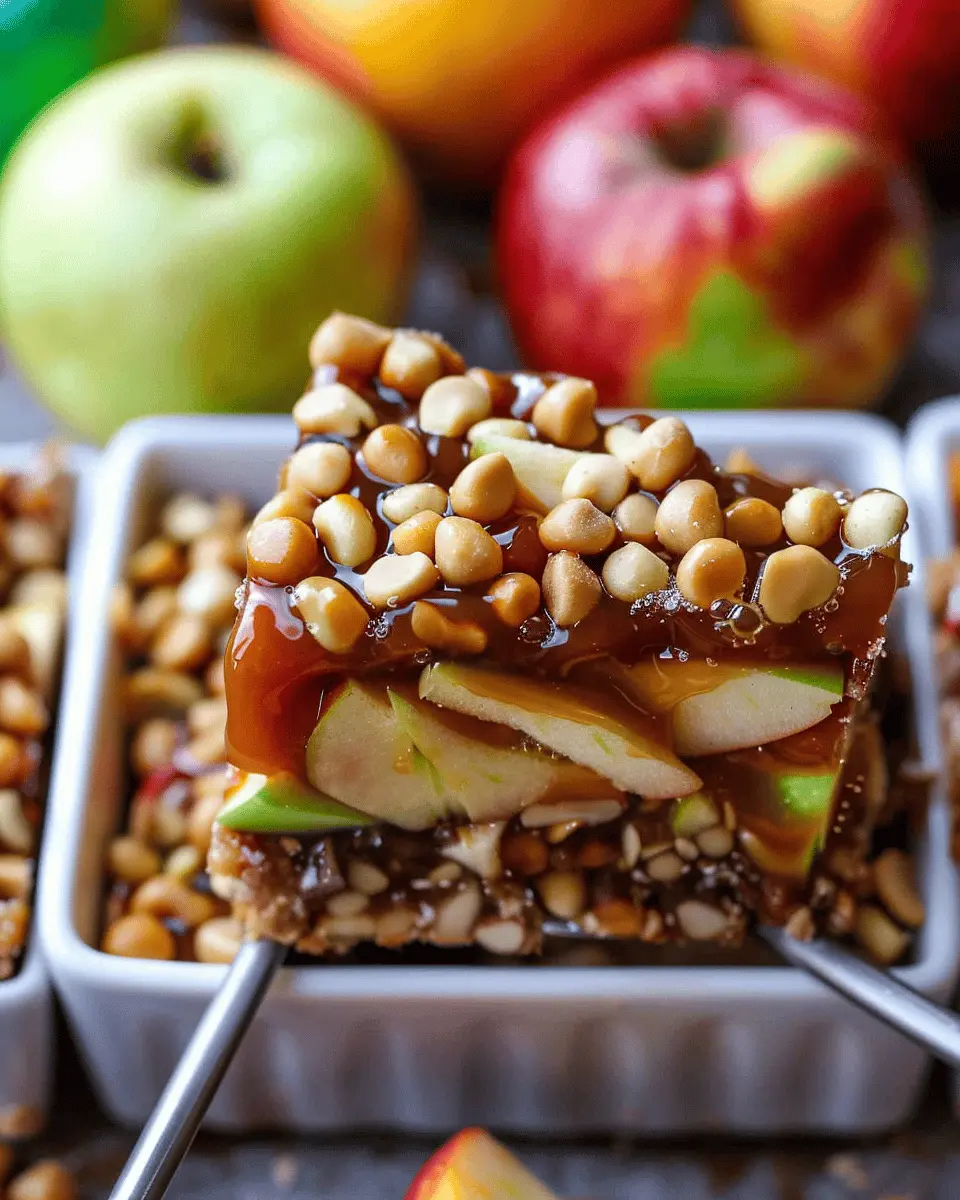
Dip, swirl, and decorate with toppings of choice
The really fun part of your DIY Caramel Apple Bar is here! Dip the apple slices into the warm caramel, allowing any excess to drip off. Feel free to swirl the apples around in the bowl for an even coating.
Once the apples are well-coated, roll them in your choice of toppings. Here’s where your creativity can shine:
- Chopped nuts for a crunchy contrast
- Sprinkles for a festive touch
- Mini chocolate chips for chocolate lovers
- Crushed cookies for a fun texture
After decorating, place your caramel-coated apples on parchment paper to cool and set. This will create a delightful presentation and keep your treats from sticking together.
With these simple steps, you’ll have a fantastic DIY Caramel Apple Bar ready to impress your friends and family. Who wouldn’t want to enjoy a customizable dessert that evokes childhood memories? Whether you’re throwing a party or enjoying a cozy night at home, this setup adds a special touch. Happy dipping!
Variations on DIY Caramel Apple Bar
Creating a DIY Caramel Apple Bar is not just about the caramel; it’s about making the experience truly unique. Let’s talk variations that will take your caramel apples to the next level!
Creative toppings that can elevate your caramel apple game
Toppings can turn an ordinary caramel apple into a festive treat! Here are some delightful options to try:
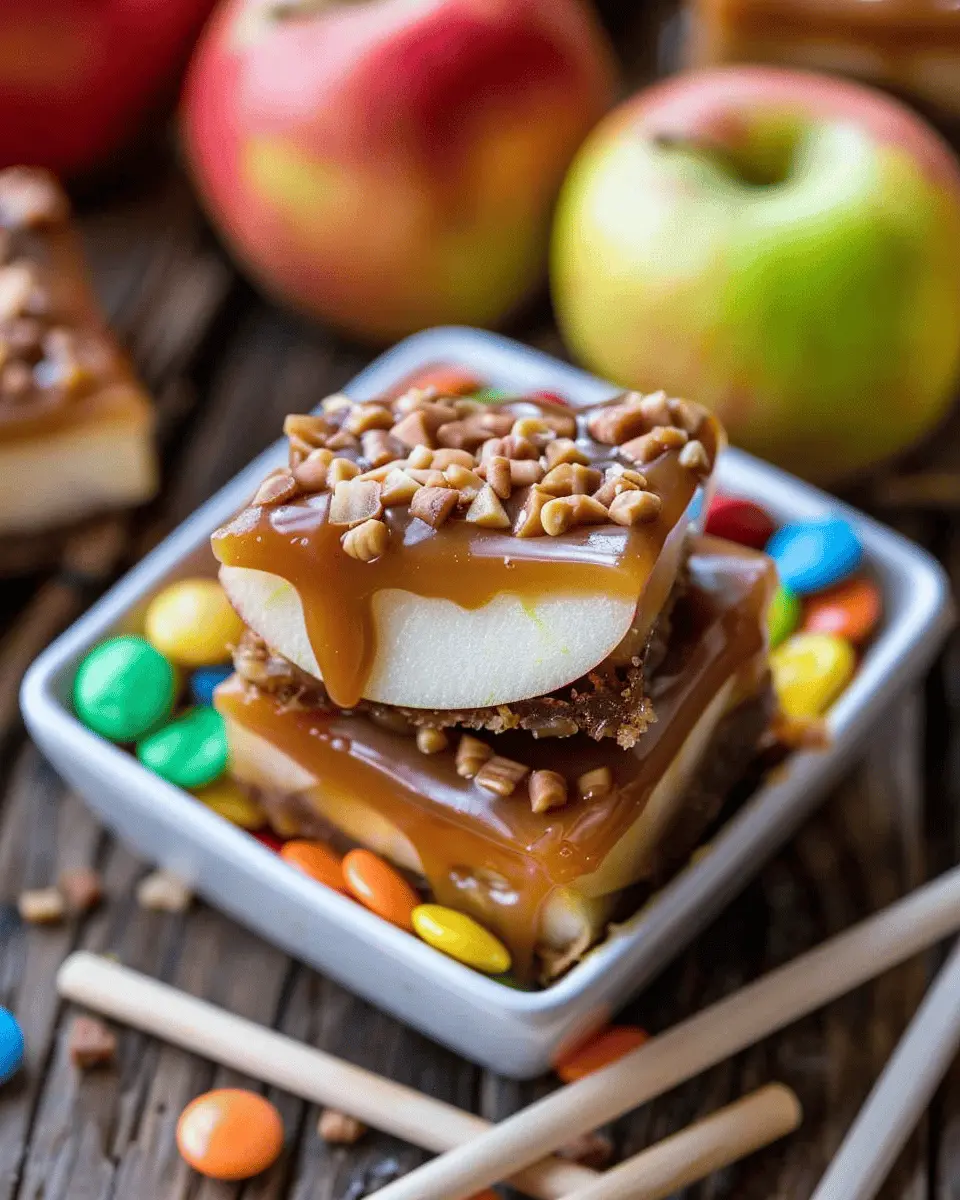
- Chopped Nuts: Think pecans, almonds, or walnuts for that satisfying crunch.
- Mini Chocolate Chips: A sweet addition that pairs beautifully with caramel.
- Cookie Crumbles: Try crushed Oreos or graham crackers for a fun texture contrast.
- Drizzles: A swirl of melted chocolate or even white chocolate can add a gourmet touch.
- Sprinkles: Colorful sprinkles can make your caramel apples festive, perfect for parties.
Encourage your guests to mix and match these toppings, creating a personalized masterpiece they’ll love!
Alternative apple varieties to try for different flavors
While classic Granny Smith apples are a popular choice, exploring different apple varieties can offer new flavor profiles. Here are some tasty alternatives worth considering:
- Honeycrisp: Known for its sweetness and crisp texture, these apples balance the rich caramel perfectly.
- Fuji: Sweet and dense, Fuji can provide a satisfying bite.
- Gala: Its mild sweetness pairs beautifully with the caramel for a less tart experience.
Each apple variety brings a different flavor essence to your DIY Caramel Apple Bar, making it an exciting treat for everyone involved. You can check out more about apple varieties at US Apple Association.
So, ready to level up your caramel apple game? Enjoy the fun of mixing flavors and toppings at your next gathering!
Cooking Tips and Notes for DIY Caramel Apple Bar
Creating a DIY Caramel Apple Bar is a delightful way to engage your friends and family, so let’s ensure it runs smoothly!
Keeping the Caramel Warm
To keep your caramel gooey and warm throughout your caramel apple experience, consider using a slow cooker set on low. This method not only maintains the temperature but also allows everyone to dip at their own pace. You can also cover the pot to prevent the caramel from hardening.
Dipping Made Easy
To make dipping less messy and more enjoyable:
- Prep the apples: Wash and dry them thoroughly to ensure the caramel adheres well.
- Use popsicle sticks: Insert them into the apples for easy handling.
- Have stations: Set up different toppings next to the caramel for a fun assembly line.
This keeps the area organized and makes it easy for everyone to customize their treats. Want more tips on delicious toppings? Check out this caramel apple topping guide.
By following these simple tips, your DIY Caramel Apple Bar will be a hit!
Serving Suggestions for DIY Caramel Apple Bar
How to Set Up Your DIY Caramel Apple Bar for Maximum Fun
Creating a DIY Caramel Apple Bar is all about making it interactive and enjoyable for everyone. Start with a sturdy table covered in a cheerful tablecloth. Lay out a variety of toppings—think crushed nuts, mini chocolate chips, sprinkles, and shredded coconut, all within easy reach.
For extra flair, consider adding a selection of apples with different textures and flavors, such as Granny Smith for a tart bite or Honeycrisp for sweetness. You can even label each topping to get people mingling and discussing their favorites.
Ideas for Accompanying Beverages and Snacks
To keep the fun going, think about offering some delicious beverages alongside your DIY Caramel Apple Bar. Hot apple cider, herbal teas, or even a refreshing sparkling water infused with citrus can be great choices.
As for snacks, consider lighter options such as popcorn seasoned with spices or a veggie platter with hummus for dipping. This way, your guests can indulge without feeling too heavy. For more ideas, check out The Recipe Critic for snack pairing suggestions.
By setting up a vibrant atmosphere and catering to all tastes, your caramel apple bar will surely be a hit!
Time Breakdown for DIY Caramel Apple Bar
Preparation time
To kick off your DIY Caramel Apple Bar, you’ll need about 30 minutes to gather your ingredients and prepare your workspace. This includes washing and slicing apples, melting the caramel, and setting up your dipping station. Make sure to include a variety of toppings for a fun twist!
Dipping and decorating time
Once everything is prepped, the most enjoyable part awaits! Dipping and decorating the apples should take around 20 minutes. Grab your favorite toppings like crushed nuts, sprinkles, and chocolate chips, and let your creativity shine.
Total time
In total, expect your DIY Caramel Apple Bar experience to last about 50 minutes. You’ll have a delicious treat ready to enjoy, perfect for a casual gathering or a cozy evening at home with friends. Who says making caramel apples needs to be a hassle? You’ll have fun while making sweet memories! For more tips on creative setups and topping ideas, check out this article.
Nutritional Facts for DIY Caramel Apple Bar
When you indulge in a scrumptious DIY Caramel Apple Bar, it’s good to understand what you’re treating your body to. Here’s a brief nutritional overview:
Calories per serving
On average, each serving of this delightful creation will contain around 200 to 250 calories. This can vary, of course, based on your toppings and portion sizes.
Sugar content
A typical serving holds about 15-20 grams of sugar, largely from the caramel and apples. While sugar can energize you, moderation is key!
Additional nutritional info
Besides calories and sugar, keep in mind that these caramel-coated treasures also provide fiber from the apples and essential vitamins. Pair them with Turkey Bacon or Chicken Ham for a fun protein boost. It’s all about balance! Exploring half-full options or using sugar alternatives can make this treat even healthier. Want to dive deeper? Check out this nutrition guide for more insights.
Make your DIY Caramel Apple Bar a joyful addition to your gatherings while being mindful of your choices!
FAQs about DIY Caramel Apple Bar
Creating a DIY Caramel Apple Bar is a fun and interactive way to indulge in sweet treats with friends and family. Here are some common questions you might have as you prepare for this tasty adventure!
Can I use homemade caramel for this recipe?
Absolutely! In fact, using homemade caramel can elevate your DIY Caramel Apple Bar to a whole new level. You can make it using simple ingredients like sugar, butter, and cream for that fresh, buttery flavor. There are many recipes available online, like this one from Sally’s Baking Addiction that walks you through the process.
What other fruits can be used for a similar bar?
While apples are the classic choice, your DIY Caramel Apple Bar can definitely include a variety of fruits. Consider using:
- Pears
- Bananas
- Strawberries
- Pineapple chunks
Each of these fruits pairs wonderfully with caramel and can provide a unique twist to your setup. Get creative and let your taste buds guide you!
How do I store leftover caramel apples?
If you happen to have leftovers (unlikely, but it happens!), store your caramel apples in the fridge to keep them fresh. Just wrap each apple in plastic wrap or store them in an airtight container. Enjoy them within a day or two, as the caramel can start to degrade. For an added tip, if the caramel is very sticky, you might want to place parchment paper between the apples to prevent them from sticking together.
Feeling inspired yet? Gather your supplies and get ready to create a memorable DIY Caramel Apple Bar that your friends won’t stop talking about! Happy crafting!
Conclusion on DIY Caramel Apple Bar
Creating your own DIY Caramel Apple Bar is more than just a culinary venture; it’s a delightful experience that can brighten up any gathering. Each crunchy apple paired with velvety caramel offers endless possibilities for toppings like crushed cookies, nuts, and sprinkles, encouraging creativity and personalized tasty treats.
Imagine sharing these delicious masterpieces with friends during a cozy evening or a fall celebration. The joy lies not just in the eating but in the crafting and bonding over flavors. Don’t miss out—explore more fun dessert ideas on sites like Saveur or Food Network. So, gather your ingredients and enjoy the sweet process!
PrintDIY Caramel Apple Bar: A Fun and Indulgent Treat for Everyone
Create your own caramel apple bar at home with this easy and delicious recipe that everyone will love!
- Prep Time: 15 minutes
- Cook Time: 10 minutes
- Total Time: 25 minutes
- Yield: 4 servings 1x
- Category: Dessert
- Method: No-bake
- Cuisine: American
- Diet: Vegetarian
Ingredients
- 4 large apples
- 1 cup granulated sugar
- 1/4 cup butter
- 1/2 cup heavy cream
- 1 teaspoon vanilla extract
- 1/4 teaspoon salt
- 1 cup chopped nuts
- 1 cup candy sprinkles
Instructions
- Wash and dry the apples.
- In a saucepan, combine sugar, butter, and heavy cream over medium heat. Stir until sugar has dissolved.
- Bring the mixture to a boil, then reduce heat and simmer for 5 minutes until thickened.
- Remove from heat and stir in vanilla extract and salt.
- Dip each apple into the caramel, allowing excess to drip off.
- Roll in nuts or sprinkles as desired.
- Place on a parchment-lined tray to cool and set.
Notes
- Make sure to use wax-free apples for better caramel adherence.
- This treat is customizable with various toppings like chocolate or sea salt.
Nutrition
- Serving Size: 1 apple
- Calories: 250
- Sugar: 30g
- Sodium: 50mg
- Fat: 10g
- Saturated Fat: 6g
- Unsaturated Fat: 3g
- Trans Fat: 0g
- Carbohydrates: 35g
- Fiber: 3g
- Protein: 1g
- Cholesterol: 15mg
Keywords: DIY, Caramel, Apple, Bar, Recipe, Dessert